Friday, June 24, 2011

Smocked cupcakes and a glimpse of my sewing room

This year I am the programs chair for my local SAGA chapter.  My ladies are experienced sewers and so one must be creative in finding something to stir up interest.  (They all know so much more than I.)

This month I came up with a easy project that everyone could do in an evening, smocking some cupcakes!


This idea started with an article in Creative Needle by Janet Sewell in June of 2008.  She used clay pots and parfait dishes.  I chose to use a silicon cupcake liner for my base.  The sprinkles are pins pushed into a styrofoam ball covered in back-smocked fabric.

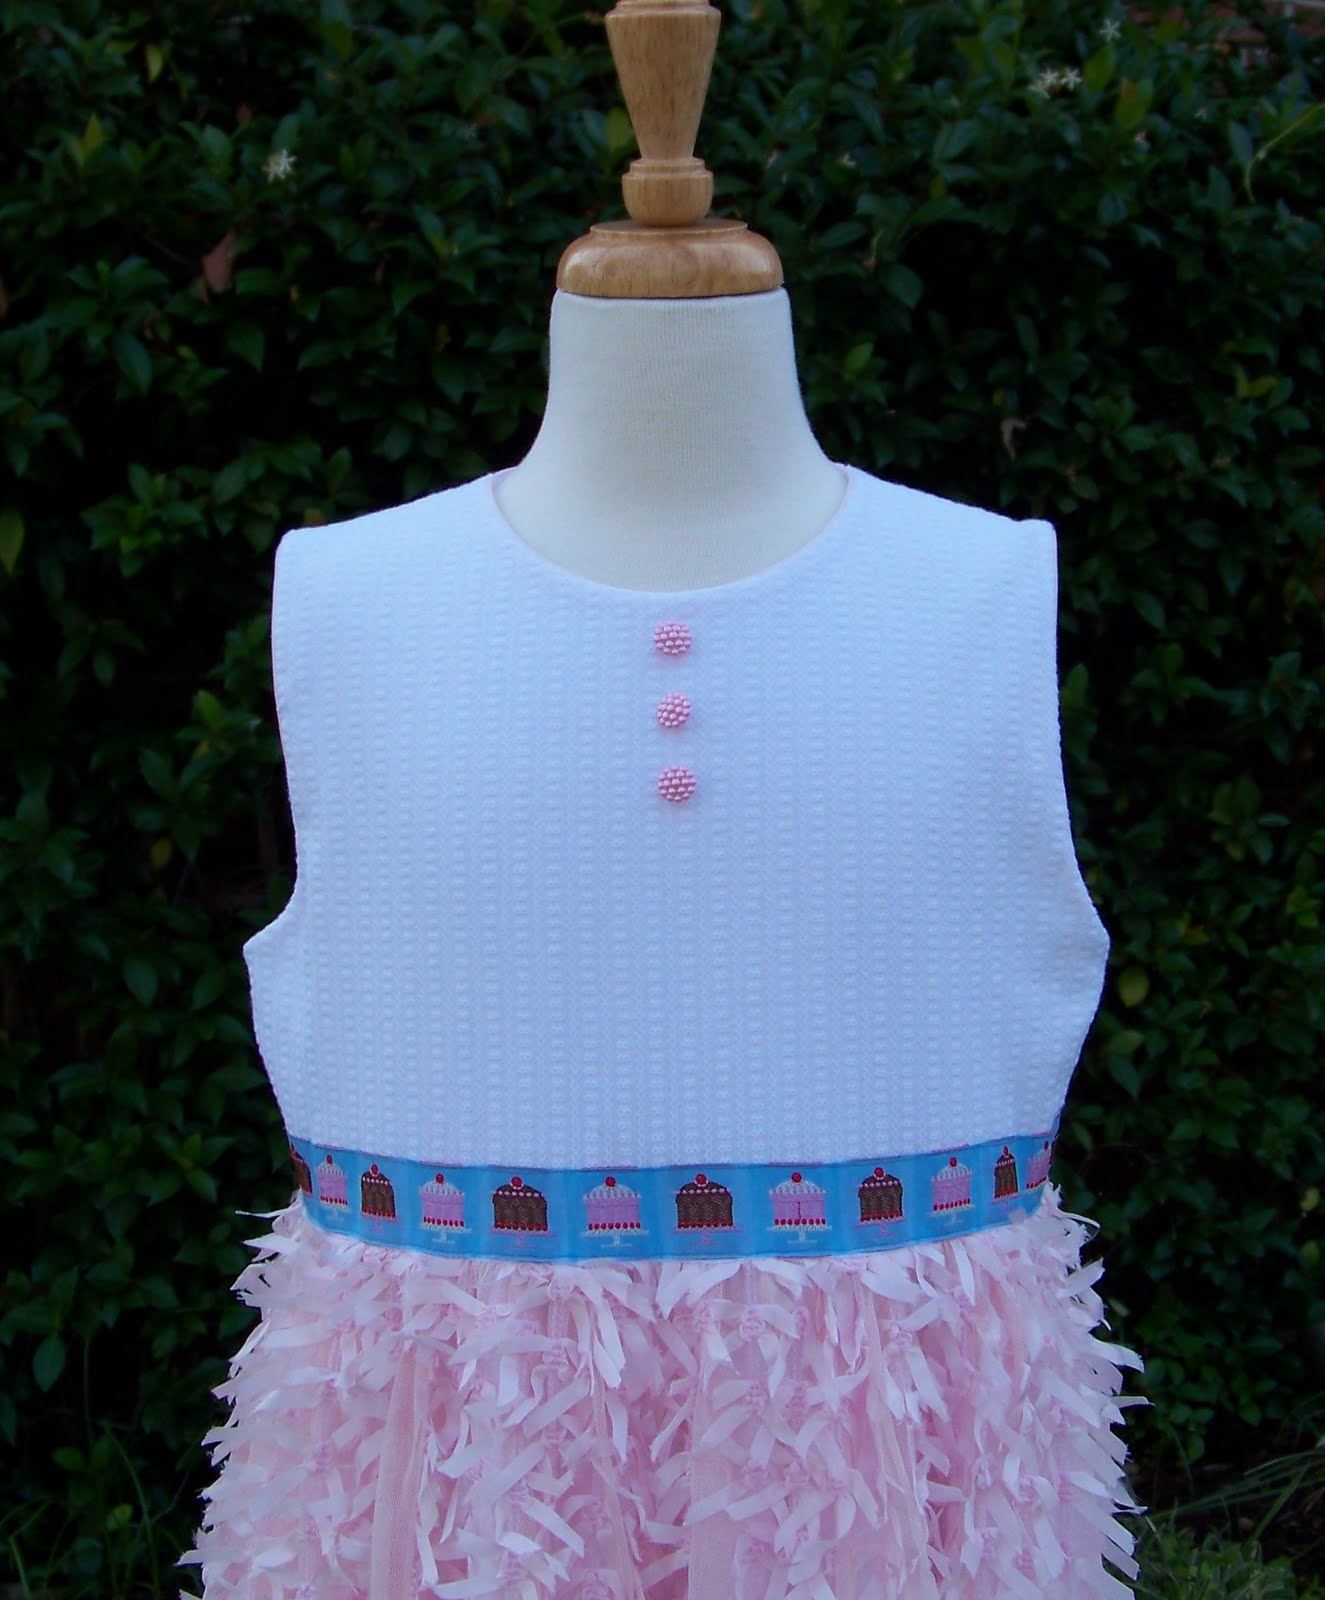
Why would I make a green and blue cupcake?  It matches my sewing room.  I will show pictures, but I didn't clean before I took them.  I am in the thick of sewing up a few dresses for an upcoming trip.  I have made three dresses this week for myself and one top and skirt for my daughter.  Think of cyclone hitting in a small space!


I pulled out my old Viking Quilt Designer for my daughter to sit with me and sew.  I am in love with my Viking SE.


My room was used as a study by a previous owner, so it came with all these cabinets and shelves.  I had them all nicely stacked and decorated, but then inherited a huge assortment of sewing, stamping, and scrapbook supplies when my mother died.  I was able to store everything, it just isn't as artistically pleasing as it was before.  The cabinets below are full of fabric.


My husband gave me a coverstitch machine a little while ago.  It is the newest member of my sewing room.  It is a wonderful machine.  I have only used it on one project, but it was love at first use!


I keep my models for taking pictures.


Sorry for the glare, but these are patterns my mom used for me as a child.  I put together the collages with fabric and trims to match.  It is fun to look at them when I work.


My cutting table has survived three moves with the help of elbow brackets and more screws.  I keep my awaiting projects in the bins below.  Do you think I can finish all these projects this summer?


Smocked cupcakes to match my room.  Other cupcakes came in chocolate, orange sherbet, and lemon sherbet.  They were all cute!

Saturday, June 18, 2011

Ruffle Knit "Morgan"

I was so excited about my last ruffle knit experience, I decided to finish up the cuts of ruffle knit I had in my stash.  I purchased this pink and white polka dot ruffle knit fabric at High Fashion Fabrics in Downtown Houston.  I have found a whole website that sells it.

So, what do you make with it?  I find it is easy to add as a skirt to a dress.


I grabbed a Sew Beautiful pattern, "Mary and Morgan."  I made the top front of "Morgan" as the pattern calls.  I added the hot pink ribbon to mirror my skirt fabric.


The polyester waffle weave fabric was thicker than quilter's weight, so my first plan to shir the back wouldn't work.  So I added rows of stitching and threaded them with elastic.


The skirt was added as one piece.  Add a little fabric flower and button and we are done!

I love those quick summer dresses!

Friday, June 10, 2011

Louise Went Wild


I got inspired for these dresses from seeing a dress with ruffle knit as the skirt.  I took many design liberties and ended up with  these wild dresses.  I was going to cut them to about a tea length, but my daughter protested and so they are long dresses.  Could we call it a little girls' maxi dress?

I used Children's Corner's pattern, Louise, for the dresses.  I had to alter the construction to add a lining for the skirt.  Most ruffle knits I have seen, can be seen through, so lining for modesty is needed.  The striped skirt has batiste as the lining and broadcloth for the bodice.  For the pink bow dress, I used a seersucker for the bodice and lining.


If you are familiar with the construction of Louise, the following tutorial will help you add a lining to the dress.

1.  Sew the shoulder seams on the bodice and the bodice lining.

2.  I added piping to the pink bow dress, but I didn't to the striped dress.  This is when you add the piping to the armholes and neckline.


3.  Sew the neck and back center seam.


 4.  Follow the instructions in the pattern for sewing the armholes together.  It is the sandwich it in the middle type thing.  Do both armholes.


Now your bodice is complete!

5.  Cut the front and back skirts as you would like for length.  I did not add as much fullness as the pattern shows due to the fickle nature of the skirt fabric.  Also cut your lining to match.  Cut your slit for the placket and sew in the placket to both the skirt and lining at the SAME TIME.

6.  Run gathering threads in the skirt fabric on each side of the placket and in the lining.  You should have four sections to gather.

7.  This is the tricky part.  Make sure you fold the right side of the placket down.


8.  This is the second tricky part.  You are going to gather the skirt section and then the lining section.  Open the bodice back side so the outside and lining are in a straight line.  Attach the lining to the lining section of the back and the outside fabric to the outside back with right sides together.  This is done on both back sides.  Due to the light color of the fabric, it was hard to get a good picture.  


Above, is a picture of one side completed.


Second side is complete.


9.  Run gathering threads in the skirt front and lining.  Attach to skirt front and skirt lining.

10.  I trimmed the seams and then finished them.  This is a wise step to reduce bulk in the seam.


11.  Sew the side seams from the bottom of the skirt to the armhole and then back down to the bottom of the lining.  Do this on both sides.


12.  I added a ribbon to the waist.  To reduce bulk, I held the lining away and only sewed the ribbon to the bodice fabric.


Sunday, June 5, 2011

Simplicity 0494 Wrap Maxi Dress


This is a super easy knit wrap dress that I decided to complicate.  I decided to add clear elastic to the neck/wrap sections to keep it from stretching out.  It is difficult to see from the picture, but it has a band on that section that holds it in shape.  The clear elastic was TOO much for the fabric, so it distorted the wrap section.  I thought I had stretched it too tight and reapplied it.  I got to completely remove the clear elastic for the second time and it hangs correctly.  I wanted to try this pattern out (it is a Pattern Review Pattern of the Year), so I bought a cheap jersey print from Joann's.  I love the long length of the dress because it looks like a maxi-dress.  It deserves to be a Pattern of the year, it is cute and easy.